

Replace your Pain with Strength to Throw Harder
Medically designed arm care system engineered to increase velocity and reduce your risk of injury.
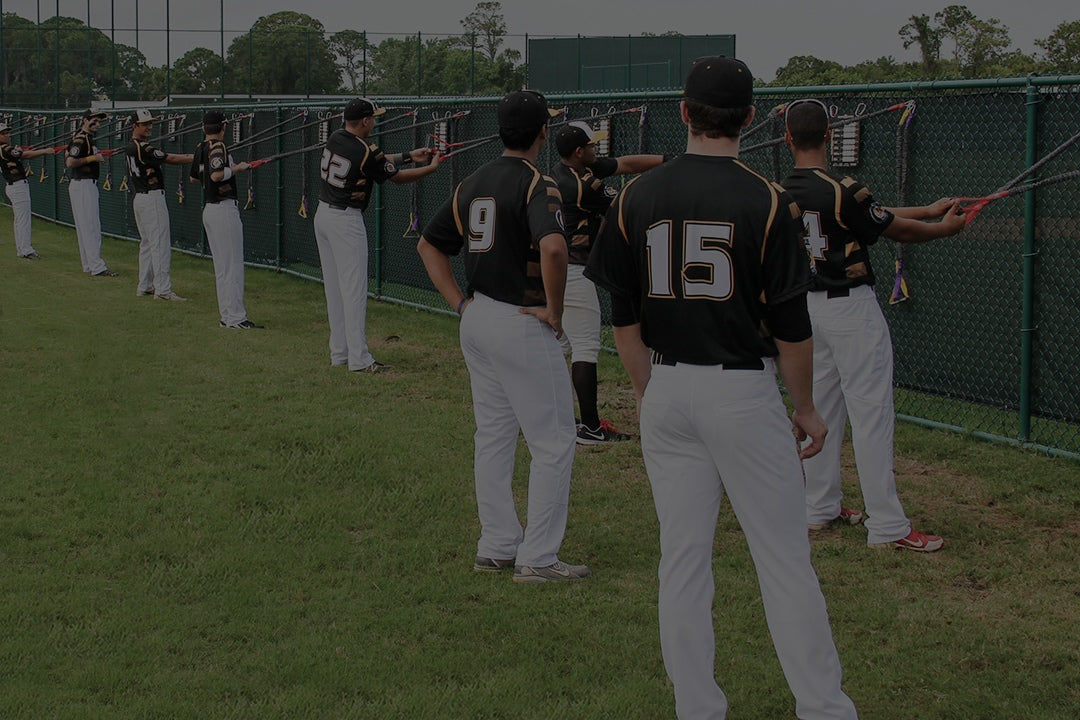
Protect Your Arm & Increase Velocity
 Eliminate Arm Pain
The Pain and Rehab section includes our proven 4-step process to end your arm pain.
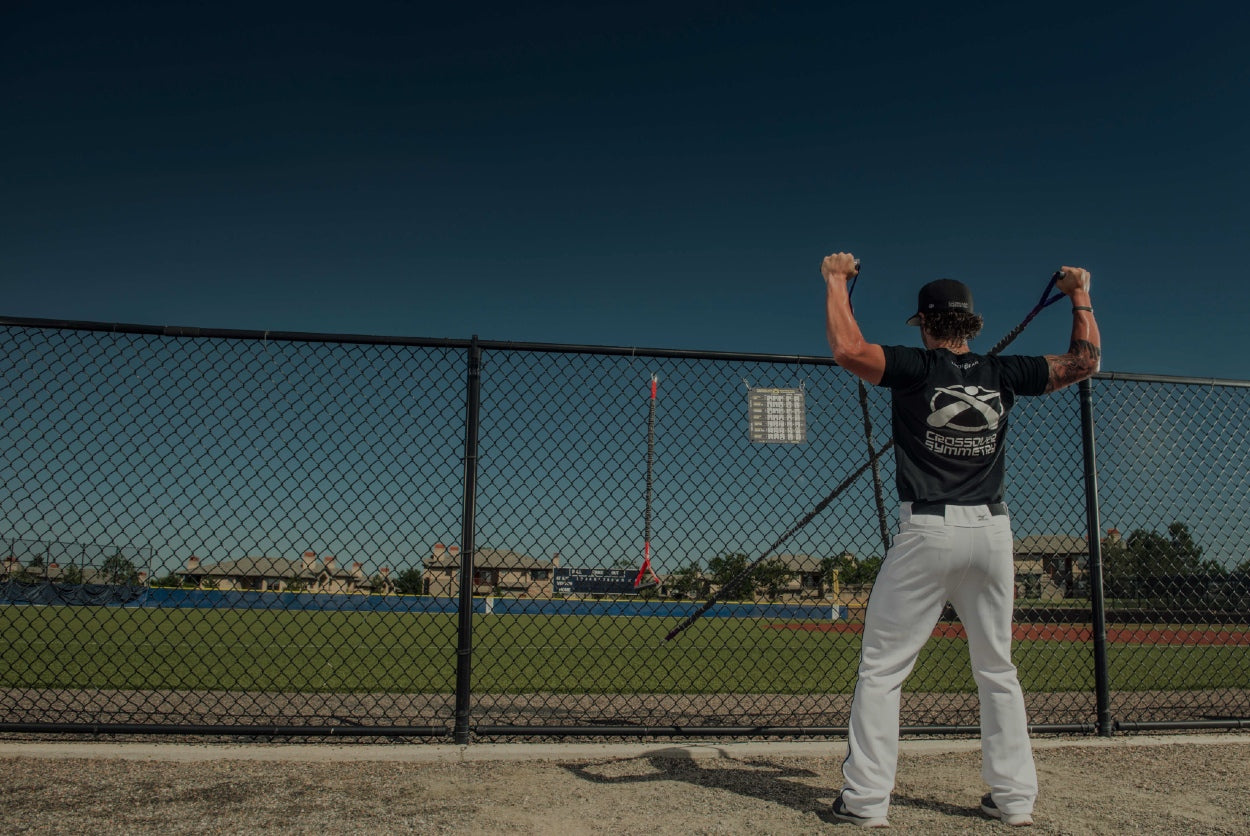
 Protect Your Arm
Using Crossover Symmetry as a proactive tool is the smartest path to arm health and performance.
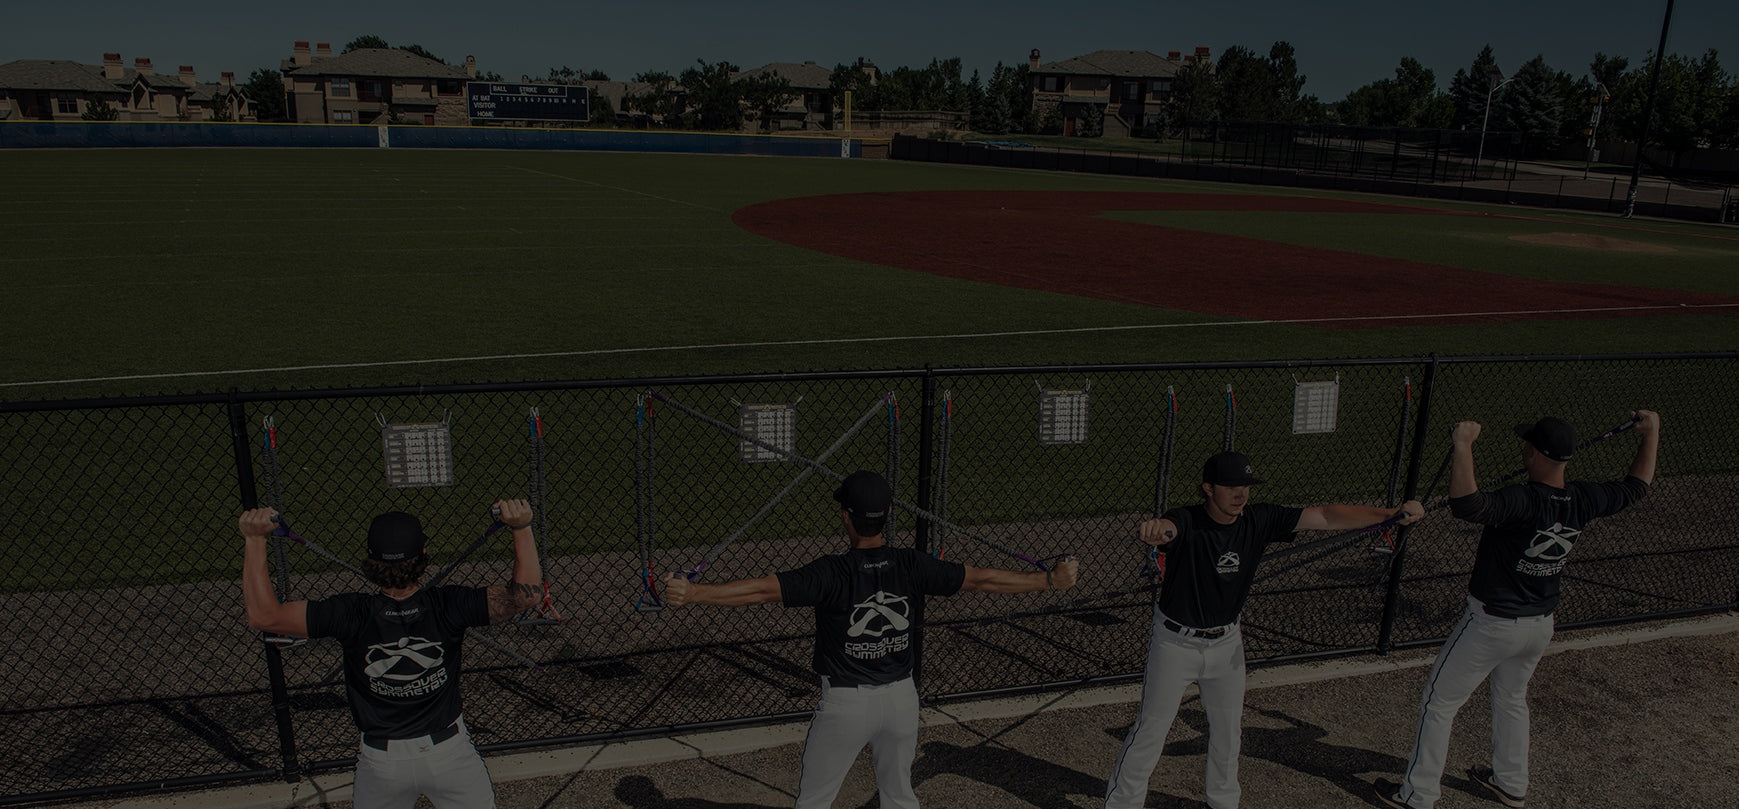
 Increase Velocity
A healthy arm is a high-performance arm. Use Crossover Symmetry to increase speed, power, and strength.
Accurately Test Shoulder Strength & range of motion
the arm care app pairs with the activ5 strength dynamometer to accurately test your shoulder strength and range of motion
Learn More
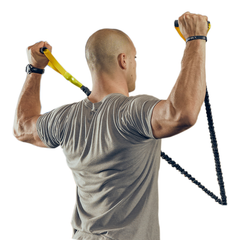
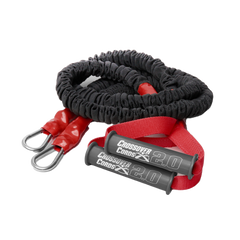
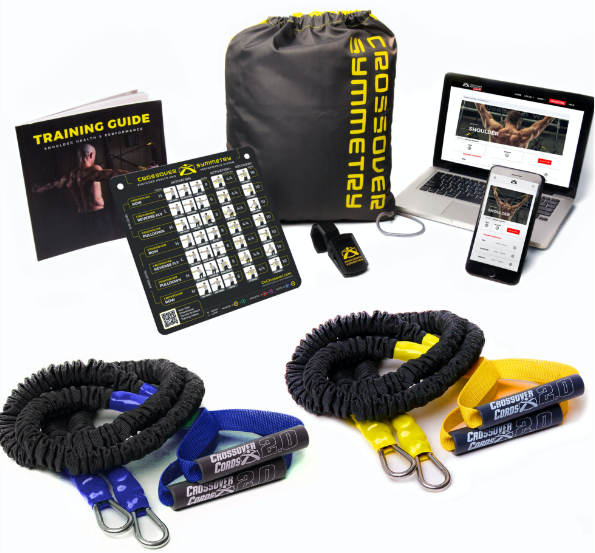
Professional Grade Equipment
The Crossover Symmetry packages are designed to be used right out of the box without any other equipment.
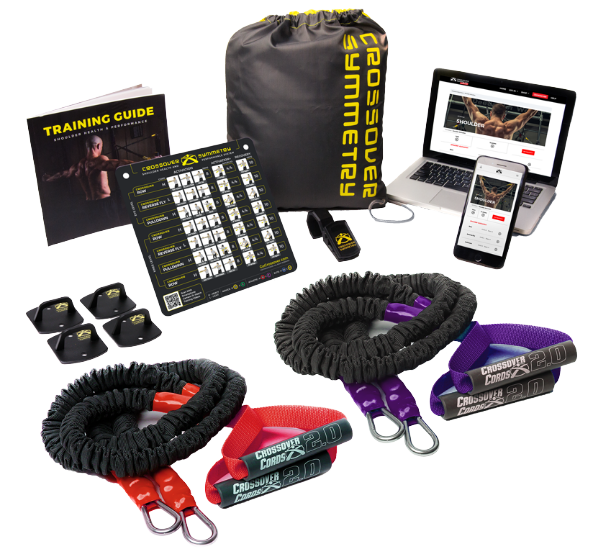
- Chart & Education: Our exercise chart and video training zone will walk you through your warm-up, arm strengthening, and post-throwing recovery.
- High-Quality Equipment: The Crossover Symmetry equipment is designed to be used at home or the field, & durable enough for years of daily use.
- Pain Rehab: Get rid of nagging pain with our 30-Day Shoulder Fix.

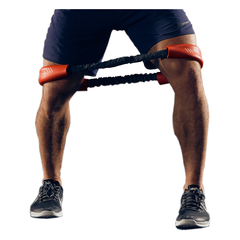
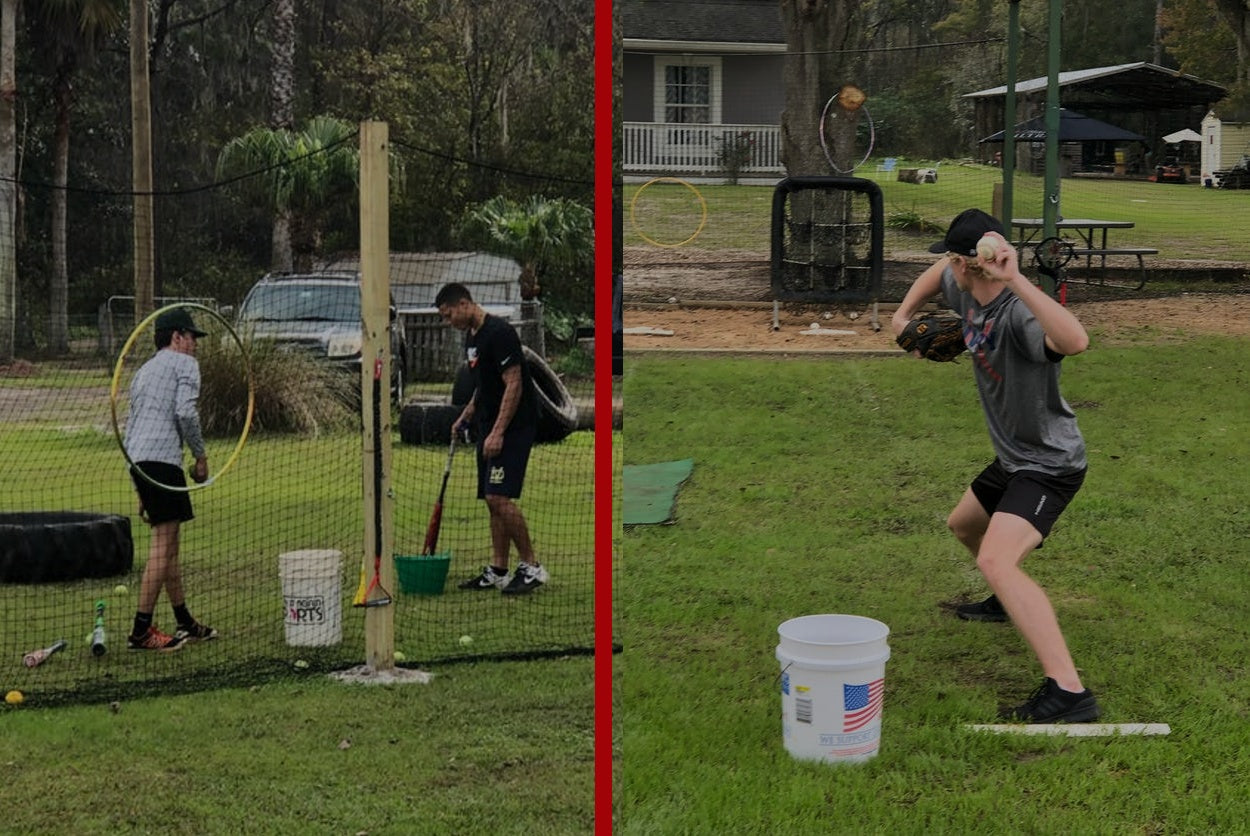
Hip & Core Training
The Key to Power is All in Your Hips.
Add the Hip & Core System to Your Arm Care for a Full-Body Performance Plan.
Buy Now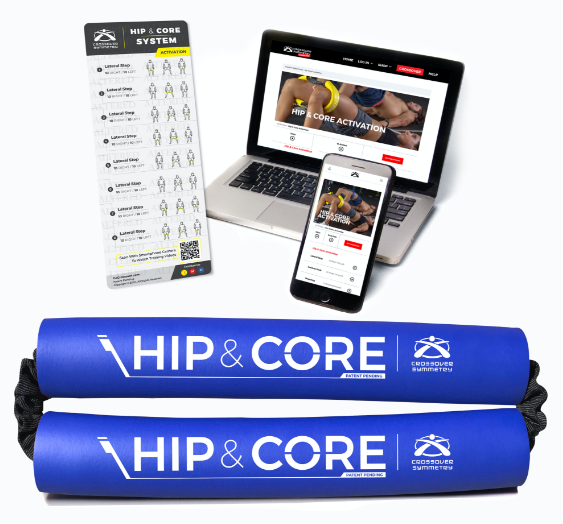
I am a pitching coach at Florence High School. In the last 2 years using Crossover Symmetry and a baseball specific workout I have helped 5 kids go to college as pitchers. I also have a junior committed to LSU. Your product is OUR choice to stay healthy. I must say that every kid that I have worked with has increased velocity and we don't use any gimmicks to gain velo. Hard work and the crossover symmetry program. Every pitcher that has done my program consistently has shown increased from 3-16 mph. The kid at Birmingham-Southern went from 65 mph to 81 mph in 9 months. Your product has been a God send for my pitching staff and others that go through the program.
I purchased this for my son who plays baseball and it helps him loosen up his shoulders and also build strength. I purchased it because this is what my PT used with me pre and post SLAP tear surgery. I also use it pre and post workouts. Best product around!!
Our players here at the Pryor Baseball Farm love the Crossover Symmetry bands!
My two teenage baseball player sons (age 16 & 17) love these. They came packaged really nicely with exercises and also had follow-up with emails of exercises and tips.

Great product. Well made and definitely work as marketed. I recommend for any baseball player.
BASE Velo
The Safe and Most Effective Way to Increase Velocity
We’ve combined the scientifically proven methods for increasing velocity into a complete 10-week training program.
Program includes:
- Baseball Specific Strength Program
- Medicine Ball Training
- Daily Arm Care
- Progressive Throwing Program
BASE Velo is included free with purchase of a Shoulder Package
Buy Now